Have you ever wanted to make a homemade vanilla marshmallow recipe but worried your marshmallows would turn out too sticky, dense, or difficult to make? With the right ingredients and a few simple techniques, you can create soft, fluffy vanilla marshmallows that taste far better than store-bought versions. Whether you’re making them for hot chocolate, s’mores, dessert platters, or homemade gifts, this easy marshmallow recipe walks you through every step to help you achieve perfect results every time.
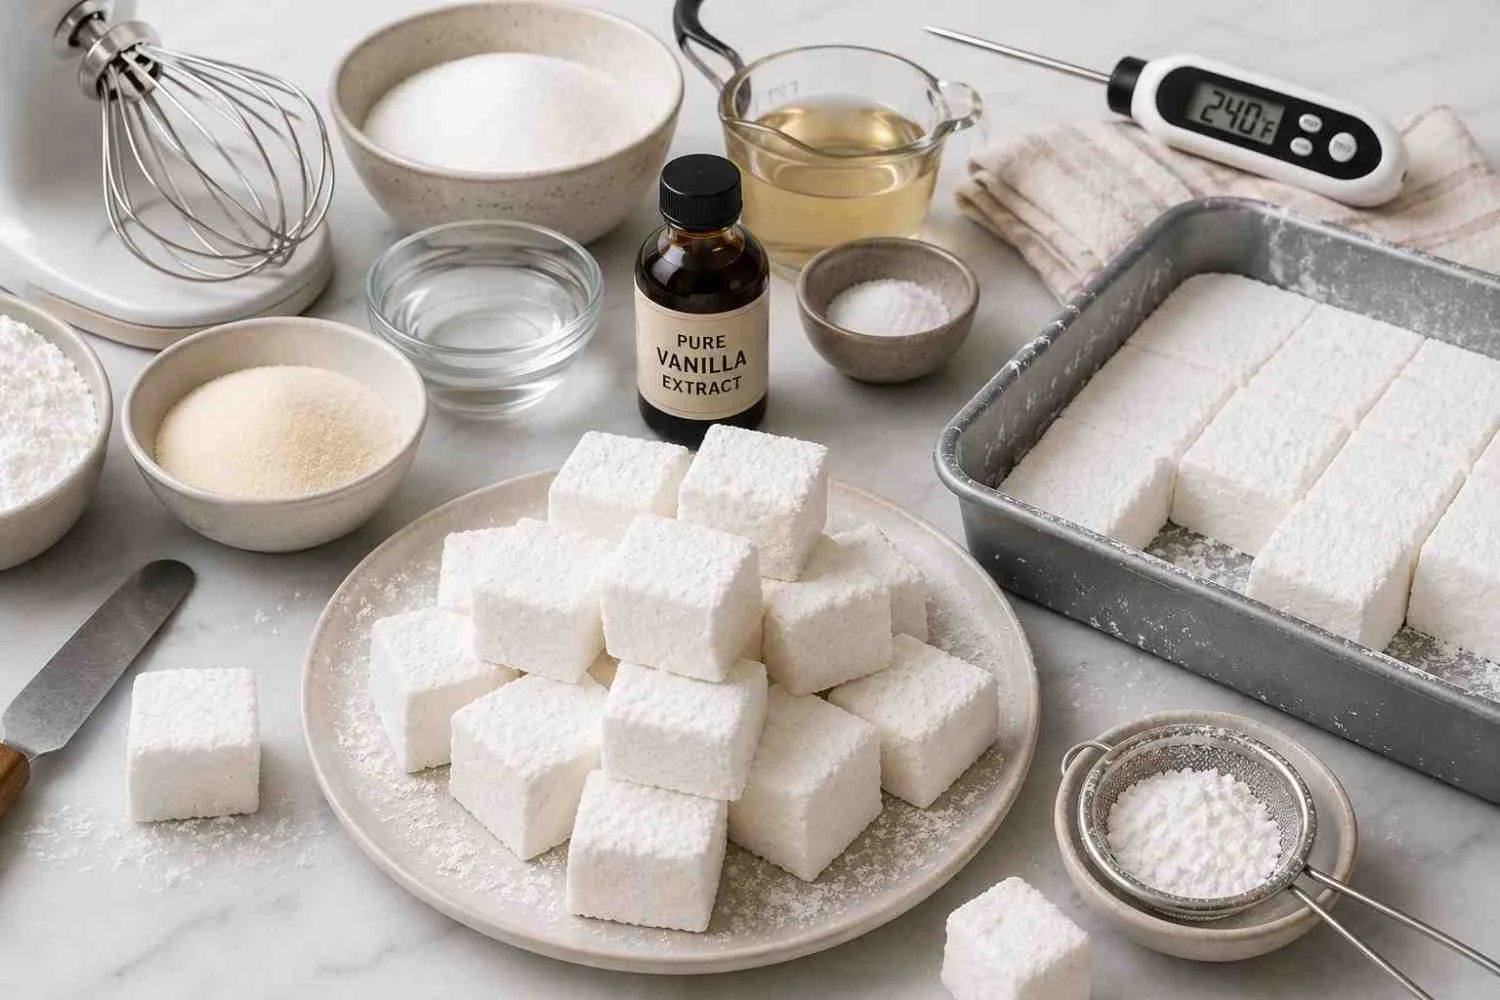
Homemade Vanilla Marshmallow Recipe
- Preparation Time: 20 minutes
- Cooking Time: 15 minutes
- Resting Time: 6–8 hours (or overnight)
- Total Time: 8 hours 35 minutes
- Yield: 36 marshmallows
- Course: Dessert, Candy
- Cuisine: American
- Difficulty: Easy to Intermediate

Ingredients
For the Marshmallows
- 3 packets (21 g) unflavored gelatin
- ½ cup cold water (for blooming the gelatin)
- ½ cup cold water (for the sugar syrup)
- 2 cups granulated sugar
- 1 cup light corn syrup
- ¼ teaspoon salt
- 1 tablespoon pure vanilla extract
For Dusting
- ½ cup powdered sugar
- ½ cup cornstarch
Why Each Ingredient Matters
Every ingredient in this vanilla marshmallow recipe has a specific purpose. Together, they create the soft, airy texture and rich vanilla flavor that make homemade marshmallows so much better than store-bought ones.
1. Unflavored Gelatin
Gelatin is the key ingredient that gives marshmallows their signature structure. Once bloomed and whipped with hot sugar syrup, it traps air to create the light, fluffy texture that homemade marshmallows are known for.

2. Cold Water
Cold water is used to bloom the gelatin before mixing. Properly hydrated gelatin dissolves smoothly into the hot sugar syrup, ensuring a lump-free mixture and an even texture.
3. Granulated Sugar
Granulated sugar provides sweetness while forming the structure of the marshmallows. Cooking it to the correct temperature creates the soft yet chewy consistency that makes marshmallows so enjoyable.

4. Light Corn Syrup
Corn syrup prevents sugar crystals from forming during cooking. This helps produce smooth, tender marshmallows while keeping them soft for longer. If you’d rather skip corn syrup altogether, check out our marshmallow recipe without corn syrup, which uses an alternative method to achieve similar results.
5. Salt
A small amount of salt balances the sweetness and enhances the overall flavor, allowing the vanilla to shine.
6. Pure Vanilla Extract
Vanilla extract is the star ingredient of this recipe. It adds a warm, sweet aroma and classic vanilla flavor that gives homemade marshmallows their irresistible taste. For an even richer flavor, you can substitute vanilla bean paste.
7. Powdered Sugar
Powdered sugar is used to coat the marshmallows after they’ve set. It prevents them from sticking together while adding a delicate sweetness to the outside.
8. Cornstarch
Cornstarch is mixed with powdered sugar to create a light coating that keeps the marshmallows dry, soft, and easy to handle without making them overly sweet.

Equipment Needed
Having the right tools ready before you begin makes the marshmallow-making process much easier, especially since the mixture starts setting quickly once it’s whipped.
- Stand mixer or electric hand mixer
- Candy thermometer
- Medium heavy-bottom saucepan
- 9×13-inch baking pan
- Silicone spatula
- Measuring cups and measuring spoons
- Fine mesh sieve
- Sharp knife or pizza cutter
- Small mixing bowl
- Cooking spray or neutral oil
How to Make Vanilla Marshmallows
Making homemade vanilla marshmallows is easier than it may seem. Follow these simple steps, and you’ll end up with soft, fluffy marshmallows that are perfect every time.

Step 1. Prepare the Baking Pan
Lightly grease a 9×13-inch baking pan with cooking spray or a thin layer of neutral oil.
In a small bowl, whisk together the powdered sugar and cornstarch. Sprinkle a generous amount over the bottom and sides of the pan. This coating prevents the marshmallows from sticking and makes them easier to remove once they’ve set.
Step 2. Bloom the Gelatin
Pour ½ cup of cold water into the bowl of your stand mixer.
Evenly sprinkle the unflavored gelatin over the water and let it sit undisturbed for 10 minutes. This process, known as blooming, allows the gelatin to fully absorb the water, ensuring a smooth and fluffy marshmallow texture.

Step 3. Cook the Sugar Syrup
In a medium heavy-bottom saucepan, combine:
- 2 cups granulated sugar
- 1 cup light corn syrup
- ½ cup water
- ¼ teaspoon salt
Place the saucepan over medium-high heat and stir just until the sugar dissolves.
Once the mixture begins to boil, stop stirring and allow it to cook until it reaches 240°F (115°C) on a candy thermometer. This is the soft-ball stage, which creates perfectly soft marshmallows.
Step 4. Combine the Syrup with the Gelatin
Turn your stand mixer to low speed.
Carefully pour the hot sugar syrup into the bloomed gelatin in a slow, steady stream. Avoid pouring the syrup directly onto the whisk attachment, as it can splatter.
Once all the syrup has been added, increase the mixer speed to medium.
Step 5. Whip Until Thick and Fluffy
Gradually increase the mixer speed to high and beat the mixture for 10 to 15 minutes.
You’ll know it’s ready when it becomes:
- Thick
- Bright white
- Glossy
- Tripled in volume
Add the vanilla extract during the final minute of mixing and continue beating until fully incorporated.
Step 6. Transfer the Mixture
Immediately pour the marshmallow mixture into the prepared baking pan.
Using a lightly greased silicone spatula, spread the mixture evenly into the corners and smooth the surface as much as possible.
Dust the top generously with the remaining powdered sugar and cornstarch mixture.

Step 7. Allow the Marshmallows to Set
Leave the marshmallows uncovered at room temperature for 6 to 8 hours, or preferably overnight.
Avoid placing them in the refrigerator, as the moisture can make them sticky.
Step 8. Cut and Coat
Once fully set, turn the marshmallow slab onto a cutting board dusted with the powdered sugar mixture.
Using a lightly greased sharp knife or pizza cutter, cut into squares.
Coat each marshmallow in the remaining powdered sugar and cornstarch mixture until all sides are covered.
Your homemade vanilla marshmallows are now ready to enjoy.
Expert Tips
Small techniques often make the biggest difference when preparing homemade vanilla marshmallows.
- Use fresh, unflavored gelatin for the best texture and reliable results.
- Always use a candy thermometer to ensure the sugar syrup reaches 240°F (115°C).
- Measure all your ingredients before you begin, as the process moves quickly once the syrup is ready.
- Pour the hot sugar syrup slowly into the gelatin while mixing on low speed to prevent splattering.
- Whip the mixture for the full 10 to 15 minutes to achieve the light, airy texture homemade marshmallows are known for.
- Lightly grease your spatula and knife to make spreading and cutting much easier.
- Let the marshmallows set overnight for cleaner cuts and the best texture.
- Store them in an airtight container at room temperature to keep them soft and fresh.

Mistakes to Avoid
Even though homemade marshmallows are simple to make, a few common mistakes can affect their texture and consistency.
1. Skipping the Candy Thermometer
Guessing the syrup temperature can result in marshmallows that are either too soft or too firm. Always cook the syrup to 240°F (115°C).
2. Not Blooming the Gelatin Properly
If the gelatin isn’t fully hydrated before adding the hot syrup, the marshmallows may become lumpy or fail to set correctly.
3. Stirring the Sugar Syrup After It Starts Boiling
Stirring after boiling can cause sugar crystals to form, resulting in grainy marshmallows.
4. Under-Whipping the Mixture
Stopping the mixer too soon creates dense, heavy marshmallows instead of the light, fluffy texture you’re aiming for.
5. Waiting Too Long to Pour the Mixture
The marshmallow mixture begins setting quickly after whipping, so transfer it to the prepared pan immediately.
6. Refrigerating the Marshmallows
The refrigerator introduces moisture, making the marshmallows sticky and shortening their shelf life.
7. Forgetting the Powdered Sugar Coating
Without the powdered sugar and cornstarch coating, marshmallows will stick together and become difficult to handle.
Conclusion
This homemade vanilla marshmallow recipe proves that making marshmallows from scratch is much easier than most people expect. With just a handful of pantry staples and a few simple techniques, you can create soft, fluffy vanilla marshmallows that are far superior to anything you’ll find at the grocery store. From blooming the gelatin to whipping the mixture until light and airy, each step helps achieve the perfect texture and classic vanilla flavor.
Whether you’re preparing marshmallows for hot chocolate, s’mores, dessert platters, holiday gifts, or everyday snacking, this easy vanilla marshmallow recipe delivers delicious, bakery-quality results every time. Once you’ve mastered the basic recipe, you can experiment with different flavors, colors, and toppings to make it your own. After just one batch, you’ll see why homemade marshmallows are a favorite treat worth making again and again.