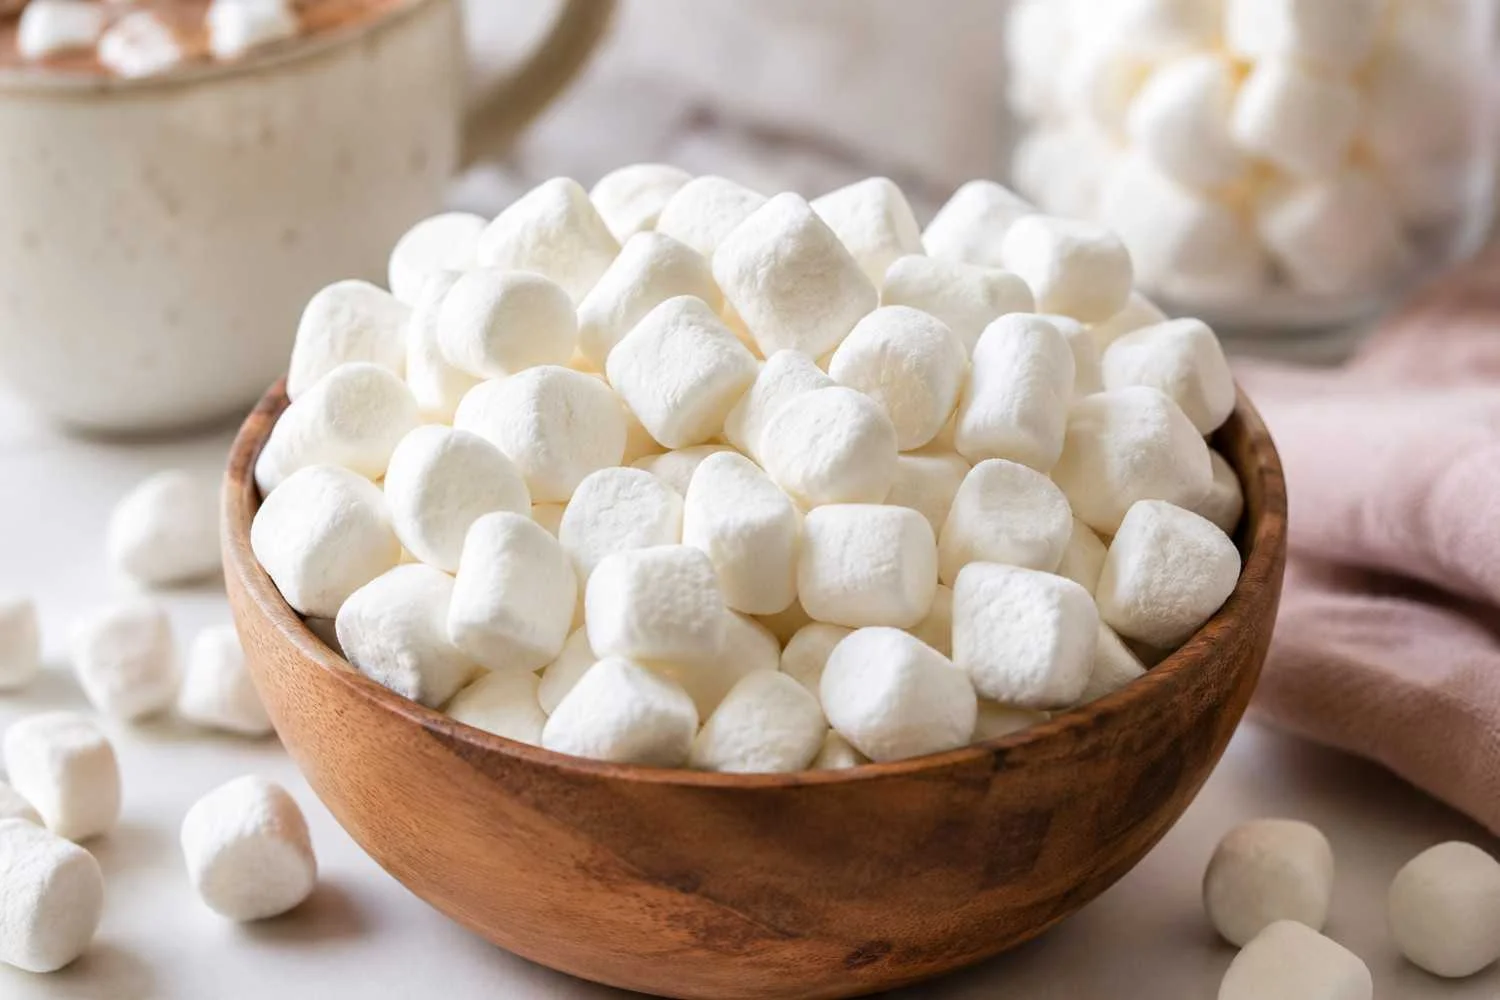
If you’ve only tasted store-bought marshmallows, you’re in for a pleasant surprise. This Mini Marshmallow Recipe creates soft, fluffy, pillow-like marshmallows with a delicate vanilla flavor and a melt in your mouth texture that’s difficult to find in packaged versions. Whether you’re adding them to hot chocolate, baking cookies, decorating desserts, or making homemade gifts, these miniature marshmallows bring a fresher taste and a lighter bite to every recipe.
Recipe Overview
| Detail | Information |
| Prep Time | 20 minutes |
| Cook Time | 12 minutes |
| Resting Time | 6 hours |
| Total Time | 6 hours 32 minutes |
| Yield | About 180–220 mini marshmallows |
| Course | Dessert |
| Cuisine | American |
| Difficulty | Easy to Moderate |
Ingredients
One of the secrets to making light, fluffy marshmallows is understanding why each ingredient is included. Every component plays an important role in creating the perfect texture.
Main Ingredients
- 3 tablespoons unflavored gelatin – Forms the structure of the marshmallows while creating their signature airy texture.
- 1 cup cold water (divided) – Used to bloom the gelatin and dissolve the sugar syrup.
- 2 cups granulated sugar – Provides sweetness while building the marshmallow’s body.
- ½ cup light corn syrup – Prevents sugar crystals from forming, resulting in a smooth and silky texture.
- 1 teaspoon pure vanilla extract – Adds the classic marshmallow flavor and aroma.
- ¼ teaspoon fine salt – Balances the sweetness and enhances the vanilla.

For Dusting
- ½ cup powdered sugar
- ¼ cup cornstarch
Mixing powdered sugar with cornstarch creates a protective coating that prevents homemade marshmallows from sticking together without changing their flavor.
How to Make Mini Marshmallows

Step 1: Cook the Sugar Syrup
Pour half of the cold water into the bowl of a stand mixer and sprinkle the gelatin evenly over the surface. Let it sit undisturbed for about 10 minutes so the gelatin absorbs the water completely. This blooming process ensures your marshmallows become soft instead of rubbery.
Meanwhile, combine the remaining water, granulated sugar, corn syrup, and salt in a heavy-bottomed saucepan. Heat over medium heat without stirring after the sugar dissolves. Allow the syrup to reach 240°F (115°C) on a candy thermometer. This temperature creates the ideal consistency for fluffy marshmallows while preventing a grainy texture.
Step 2: Whip Until Thick & Glossy
With the mixer running on low speed, carefully pour the hot syrup into the bloomed gelatin. Once combined, gradually increase the speed to high and continue whipping for 10–12 minutes.
You’ll notice the mixture transforming from clear and runny into thick, white, glossy marshmallow cream. It should nearly triple in volume and form soft peaks that slowly hold their shape. Add the vanilla extract during the final minute of mixing so its flavor remains fresh and vibrant.
Avoid overwhipping, as the mixture can become difficult to spread once it begins setting
Step 3: Spread and Allow the Marshmallow to Set

Lightly grease a square baking pan and dust it generously with the powdered sugar and cornstarch mixture. Transfer the whipped marshmallow mixture into the prepared pan using a lightly oiled spatula.
Smooth the surface as evenly as possible without pressing too firmly, which could remove some of the trapped air. Sprinkle another light coating of the sugar mixture over the top.
Leave the marshmallows uncovered at room temperature for at least six hours or preferably overnight. During this resting period, the gelatin stabilizes while the marshmallows develop their signature soft yet springy texture.
Step 4: Cut into Mini Marshmallows
Once fully set, gently loosen the edges and remove the marshmallow slab from the pan. Place it on a cutting board coated with the dusting mixture.
Lightly grease a sharp knife or pizza cutter before slicing. Cut the slab into long strips first, then slice across them to create evenly sized mini marshmallow cubes. Wipe and lightly oil the blade between cuts if necessary to keep each piece neat.
Uniform pieces not only look professional but also melt evenly in drinks and baked desserts. For cleaner pieces and easier handling, see these tips on how to cut marshmallow without making the edges too sticky.

Step 5: Coat, Store and Enjoy
Toss the freshly cut marshmallows in the remaining powdered sugar and cornstarch mixture until every side is evenly coated. Shake off any excess coating before transferring them to an airtight container.
Store homemade mini marshmallows at room temperature in a cool, dry place for up to two weeks. Avoid refrigeration because excess moisture can make them sticky.
These fluffy marshmallows are perfect for hot chocolate, brownies, Rice Krispie treats, cupcakes, ice cream, homemade gift jars, and countless other desserts.
Marshmallow Myths You Should Stop Believing
Homemade marshmallows are surrounded by plenty of misconceptions, but understanding the facts makes the recipe much less intimidating.
One common myth is that homemade marshmallows are only for experienced candy makers. In reality, they’re surprisingly beginner-friendly if you monitor the sugar temperature and follow the steps carefully.
Another misconception is that adding extra gelatin creates fluffier marshmallows. While gelatin provides structure, using too much actually produces a dense, chewy, rubber-like texture instead of a light and airy bite.

Many people also believe refrigeration keeps marshmallows fresh longer. Unfortunately, refrigerators introduce moisture that can make marshmallows sticky and shorten their quality. Room-temperature storage in an airtight container is usually the better choice.
Finally, some assume corn syrup is unhealthy or impossible to replace. While corn syrup helps prevent crystallization, substitutes like honey or glucose syrup can work, though the final flavor and texture may differ slightly. If you’d like to use honey as the primary sweetener, perfect honey marshmallows offer a richer flavor with the same light, fluffy texture.
Why Homemade Mini Marshmallows Are Worth Making
Once you’ve tasted homemade marshmallows, it’s easy to understand why so many home bakers never return to packaged versions.
Fresh marshmallows have an incredibly soft texture that almost melts on your tongue. Unlike many commercial brands, they don’t contain unnecessary preservatives or artificial stabilizers that can create a firmer bite.
Homemade marshmallows also offer endless customization. You can add peppermint extract during the holidays, swirl in cocoa powder for chocolate marshmallows, or color them for birthday parties and special occasions. Many of these variations begin with the same technique used for old fashioned homemade marshmallows, making it a great foundation for learning.
Another advantage is freshness. Because you’re making them yourself, every batch tastes vibrant with real vanilla instead of artificial flavorings. They’re also excellent for gifting during holidays, adding a homemade touch that friends and family appreciate.
For baking, homemade mini marshmallows melt beautifully into cookies, brownies, cereal treats, and hot drinks, creating a richer texture than many store-bought alternatives.

How to Tell Your Marshmallows Are Perfect
Perfect marshmallows have several noticeable characteristics. The surface should look smooth with a slight matte finish after dusting. When gently pressed, each marshmallow should spring back instead of collapsing.
The inside should feel light and airy rather than dense or gummy. Every cube should cut cleanly without excessive sticking, and the powdered sugar coating should remain evenly distributed.
When dropped into a mug of hot chocolate, homemade mini marshmallows should slowly soften while holding their shape for a few moments before melting into the drink. That balance between stability and tenderness is one of the best indicators of a successful batch.
Troubleshooting Common Problems
1: My marshmallows didn’t set.
The sugar syrup may not have reached the proper temperature, or the gelatin wasn’t fully bloomed before mixing.
2: They are too sticky.
Humidity is usually the cause. Coat the marshmallows generously with powdered sugar and cornstarch and store them in an airtight container.
3: The texture is rubbery.
Using too much gelatin or overcooking the sugar syrup can create an overly chewy texture.
4: My marshmallows look grainy.
Sugar crystals likely formed during cooking. Avoid stirring the syrup once it begins boiling, and use corn syrup to reduce crystallization
Overwhipping removes moisture while excessive resting in dry conditions can cause slight shrinkage. Whip only until glossy and thick.
5: They melt too quickly.
Homemade marshmallows naturally contain fewer stabilizers than commercial versions, making them softer and more delicate a sign of freshness rather than failure.
Frequently Asked Questions
Can I make mini marshmallows without corn syrup?
Yes. Honey or glucose syrup can be substituted, although the flavor and texture may vary slightly.
How long do homemade mini marshmallows last?
When stored in an airtight container at room temperature, they stay fresh for about two weeks.
Can I freeze homemade marshmallows?
Yes. Freeze them in a sealed container for up to three months. Allow them to thaw at room temperature before serving.
Can I color homemade marshmallows?
Absolutely. Add a few drops of gel food coloring during the final minute of whipping for vibrant, evenly distributed color.
Are homemade marshmallows gluten-free?
Most homemade marshmallows are naturally gluten-free, provided all ingredients, including vanilla extract and cornstarch, are certified gluten-free.
Can I toast homemade mini marshmallows?
Yes. They brown beautifully over low heat and develop a lightly caramelized exterior with a gooey center.
Do I need a candy thermometer?
A candy thermometer produces the most consistent results because sugar temperature directly affects texture.
What’s the best way to cut mini marshmallows?
A lightly oiled knife or pizza cutter dusted with powdered sugar creates clean, even cubes without sticking.
Final Note
This Mini Marshmallow Recipe proves that homemade marshmallows are far easier than many people expect. With a handful of pantry ingredients, careful attention to the sugar syrup, and a little patience while they set, you can create irresistibly soft, fluffy marshmallows that outperform store-bought versions in both flavor and texture. Whether you’re stirring them into hot chocolate, folding them into desserts, or packaging them as thoughtful homemade gifts, these miniature marshmallows are sure to become a favorite recipe you’ll make again and again.